
【HOT】Nhận mã Code Dragon Z Warrior Ultimate Duel mới nhất! Tự trải nghiệm những cuộc đối đầu kịch tính, khám…
Dragon Warrior Simulator là một trò chơi trong đó các game thủ phải tồn tại qua các đợt tấn công…
Trong năm 2023 này, một loạt mã Code Dragon Waifu: Thợ Săn Rồng mới nhất đã được phát hành, mang…
Mã code dragon trail hunter world Mới Nhất sẽ giúp bạn kiếm được XP, Bạc, hàng hóa chế tạo và…

Trong bài viết này, tôi sẽ chia sẻ danh sách các code Dragon Soul mới nhất năm 2023, giúp bạn trải…
Dragon Simulator là một trong những trò chơi hấp dẫn trên Roblox, nơi bạn có thể thu thập các loại…
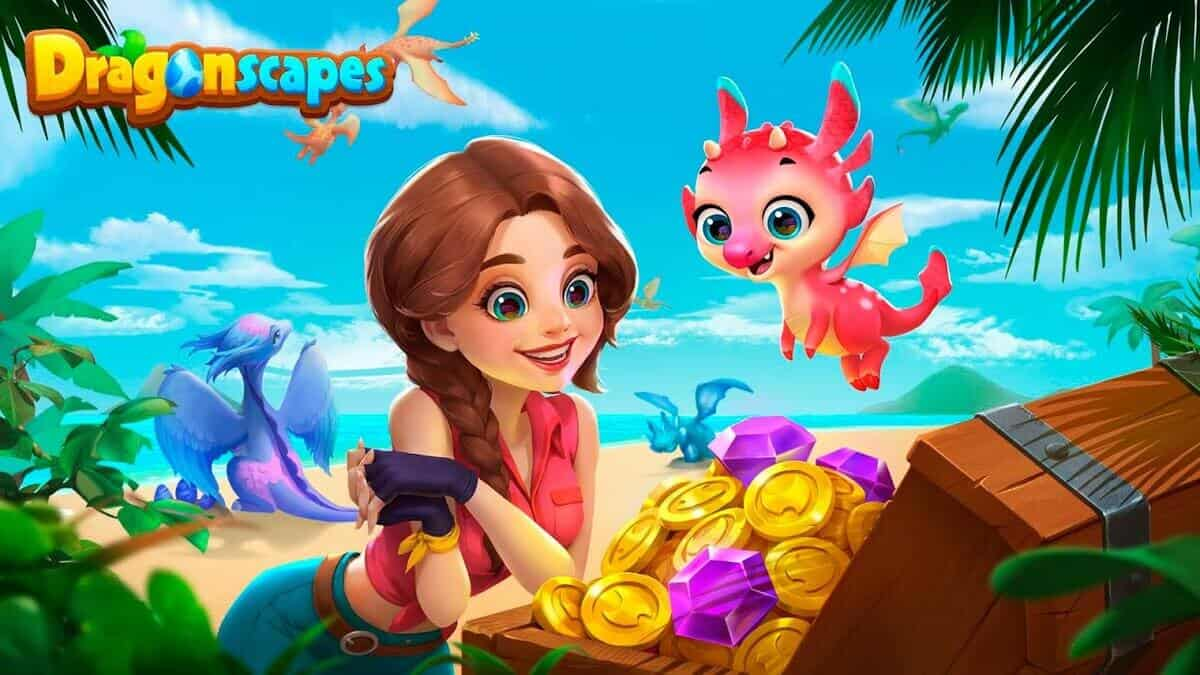
Dragonscapes là một trò chơi di động của nhà phát hành Century Games, người chơi sẽ được khám phá một…
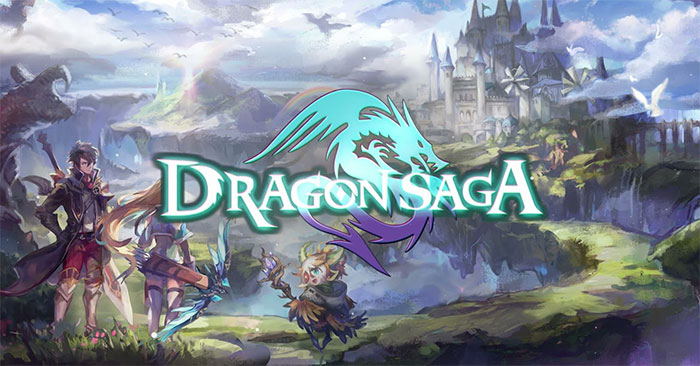
Bạn đang chơi Dragon Saga và muốn tăng cường sức mạnh của nhân vật mình? Đừng bỏ qua bài viết…
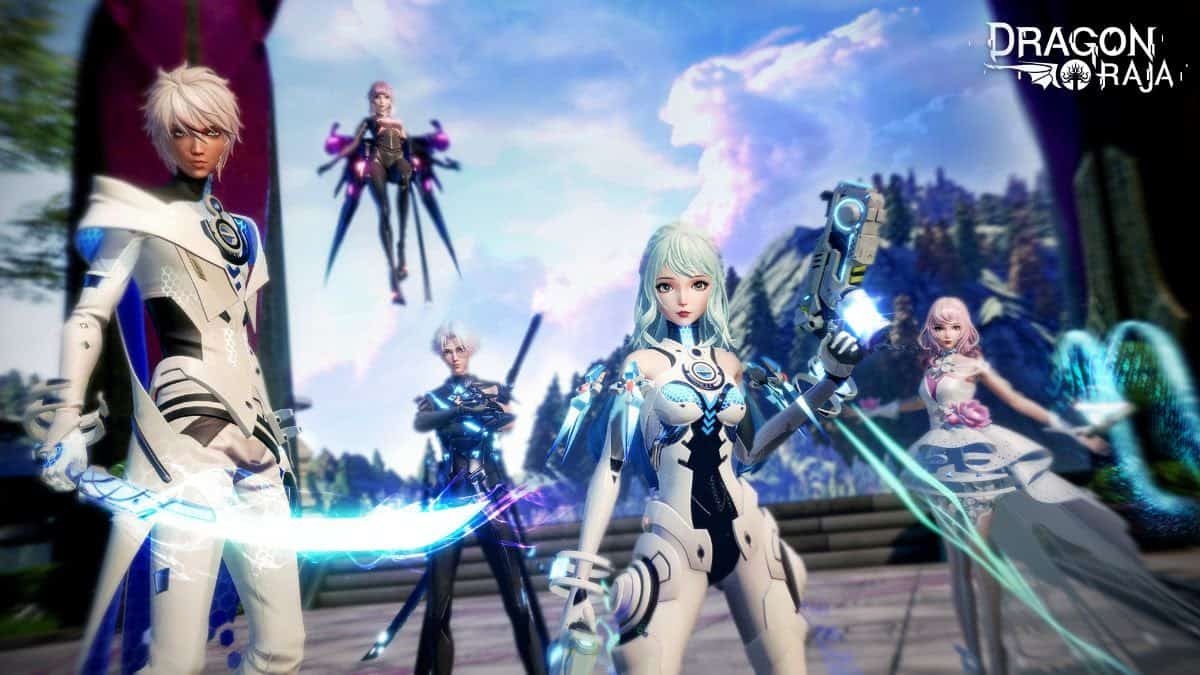
Dragon Raja là một trò chơi nhập vai 3D, và từ giờ bạn có thể sử dụng code Dragon Raja mới…
Như bất kỳ trò chơi nào khác, để làm cho trò chơi thêm hấp dẫn và thú vị cho người…
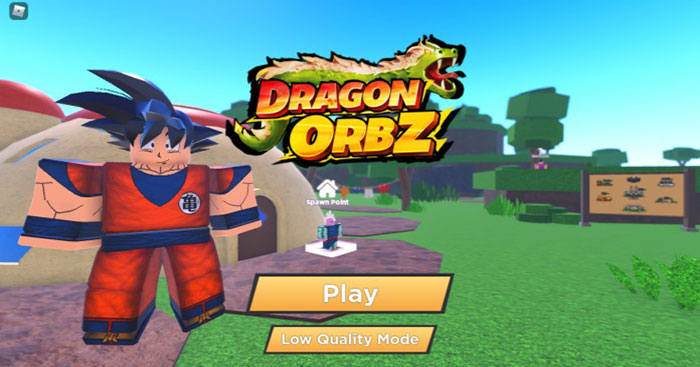
Trong bài viết này, tôi sẽ hướng dẫn bạn cách nhập code Dragon Orbz mới nhất một cách nhanh chóng…

Bạn đã từng nghe về game “Code Dragon Nest 2 Evolution Mới Nhất” chưa? Đây là một game nhập vai…
Bạn đang tìm kiếm danh sách Code Dragon Legend Z mới nhất năm 2023 và muốn biết cách nhập chúng?…
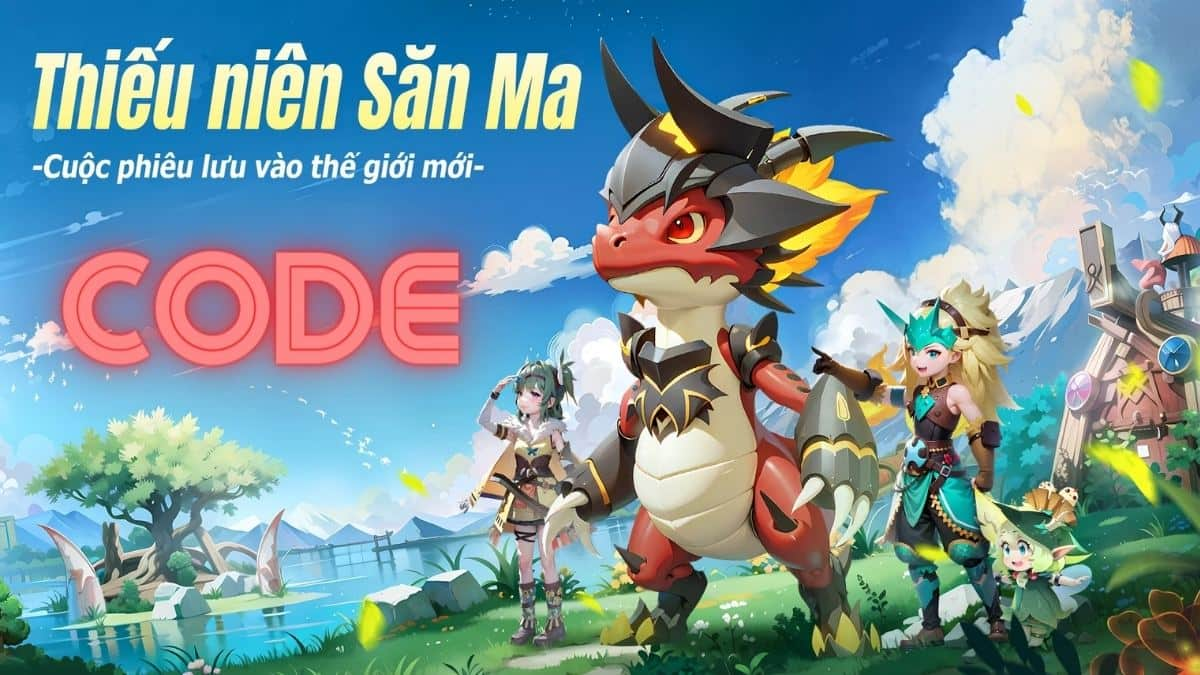
Bạn có muốn khám phá những mã code Dragon Hunters Người Săn Rồng mới nhất năm 2023 không? Tổng hợp…
Bạn đã bao giờ tò mò về trò chơi “Code Dragon Heroes mới nhất“ không? Đây là một trò chơi…
Bạn có muốn biết về những mã code Dragonheir: Silent Gods mobile mới nhất vào năm 2023 không? Dragonheir: Silent…
Bạn đang muốn tìm hiểu Code Dragon Fighting Simulator – tựa game đỉnh cao của năm 2023. Trong game, bạn…
Bạn đang tìm kiếm các mã Code Dragon Fighters Multiverse? mongkiemthe đã tổng hợp các mã mới nhất của trò chơi…
Hãy cùng tìm hiểu về những mã code Dragon Conquest Superpower. Bài viết của mongkiemthe này tổng hợp những thông…
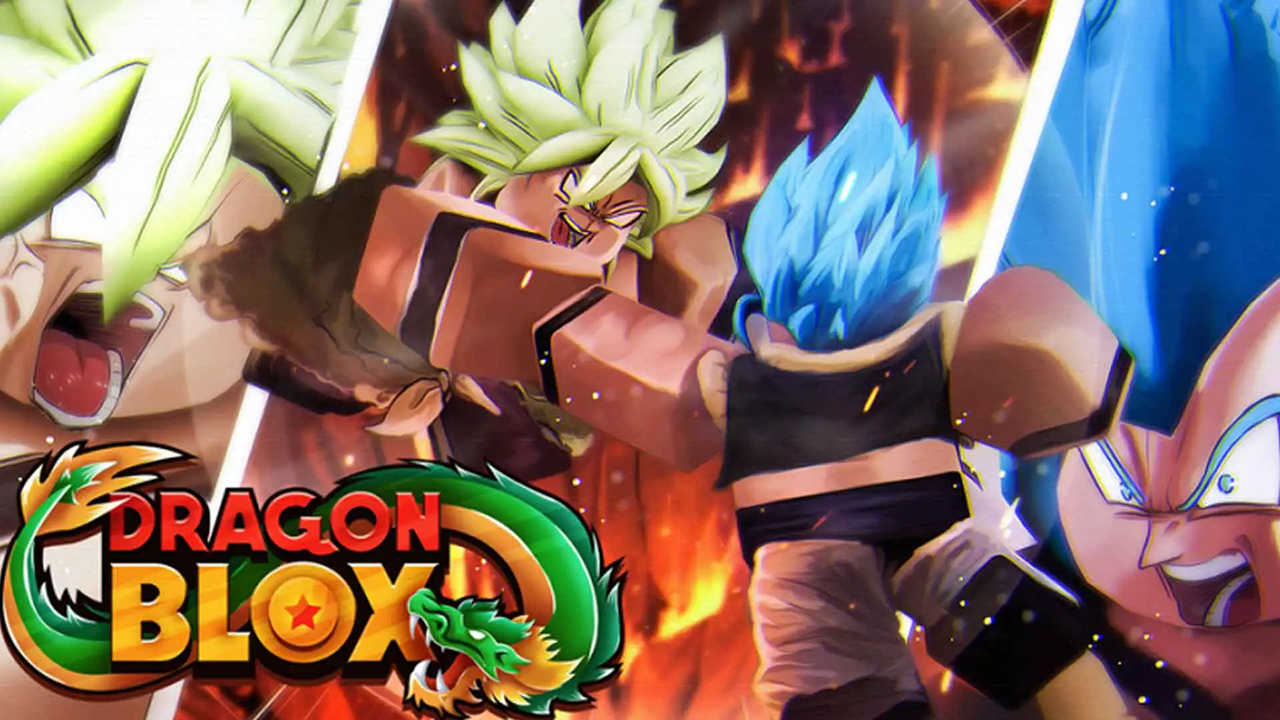
Bạn đã sẵn sàng cùng tôi khám phá phiên bản mới nhất của Code Dragon Blox mới nhất? Trò chơi…
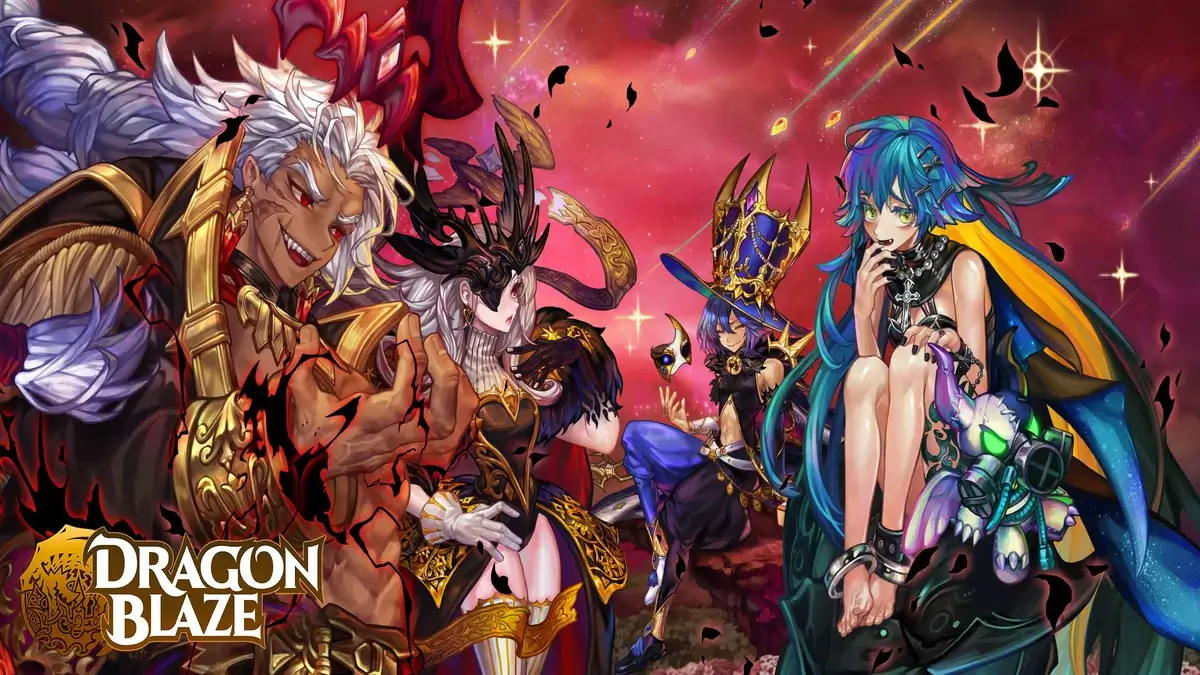
Bạn đang tìm kiếm những mã code Dragon Blaze mới nhất? Hãy đọc bài viết này của mongkiemthe để được…
Bạn muốn nhận được các mã code Dragon Battle: Legacy of Power mới nhất? Dragon Battle: Legacy of Power là…
Khám phá các mã Code Dragon Ball Rage mới nhất – Nếu bạn là một fan cuồng của dòng game…
Bạn đang tìm kiếm các mã code Dragon Arise mới nhất? Dragon Arise Mobile là một trò chơi trên điện…
Bạn đang muốn khám phá các mã Code Dragon Adventures mới nhất? Dragon Adventures là một trò chơi hấp dẫn…
Bạn đang tìm kiếm về các mã Code Đột Kích 3Q mobile mới nhất? Đột Kích 3Q Mobile là một…

Hãy cùng khám phá các mã Code Doors mới nhất để được trải nghiệm những điều kỳ diệu của trò…
Bạn đang muốn tìm kiếm về các mã Code Doodle World mới nhất? Doodle World đã nhận được nhiều lời…
Bạn có muốn khám phá các mã code Đông Tà Tây Độc 2 mới nhất? Được lấy cảm hứng từ…

Bạn đang quan tâm đến code Dogecoin Mining Tycoon mới nhất? Đừng bỏ lỡ bài chia sẻ dưới đây của…
Bạn đam mê trò chơi Roblox và đang tìm kiếm code Dodge Stars mới nhất? Hãy cùng theo dõi hướng…
Code D-MEN The Defenders mới nhất đang là một chủ đề nóng hổi trong cộng đồng game thủ. Mọi người…
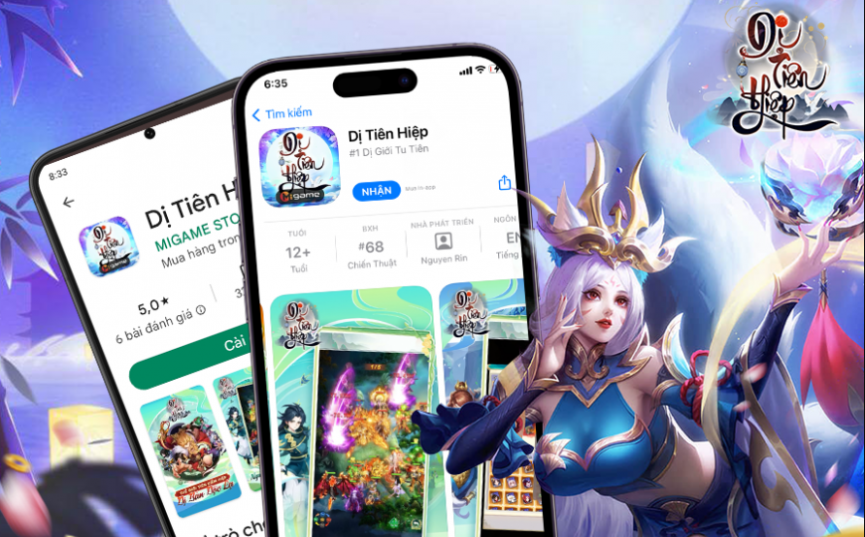
Bạn có đang tìm kiếm mã code Dị Tiên Hiệp mới nhất? Dị Tiên Hiệp là một thể loại game…
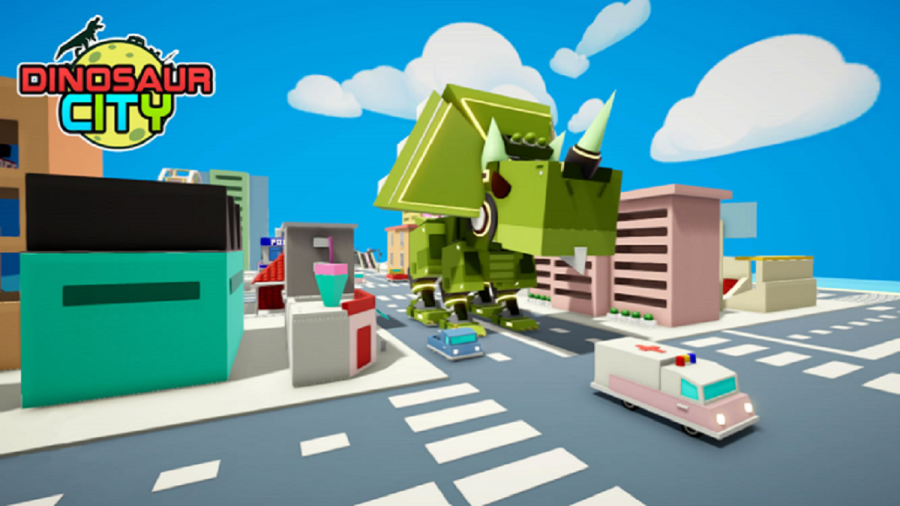
Bạn đã nghe về code Dinosaur City mới nhất chưa? Đây là một trò chơi điện tử với đề tài…
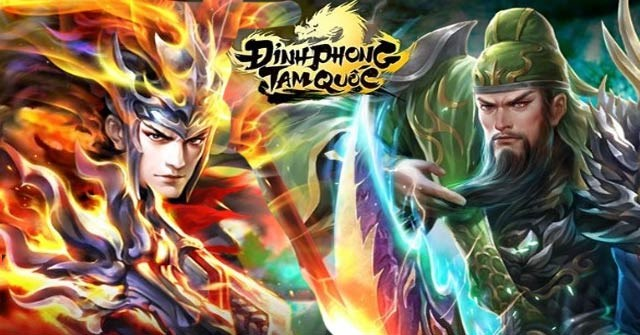
Bạn đã bao giờ nghe về Code Đỉnh Phong Tam Quốc mới nhất chưa? Đây là một chủ đề thú…
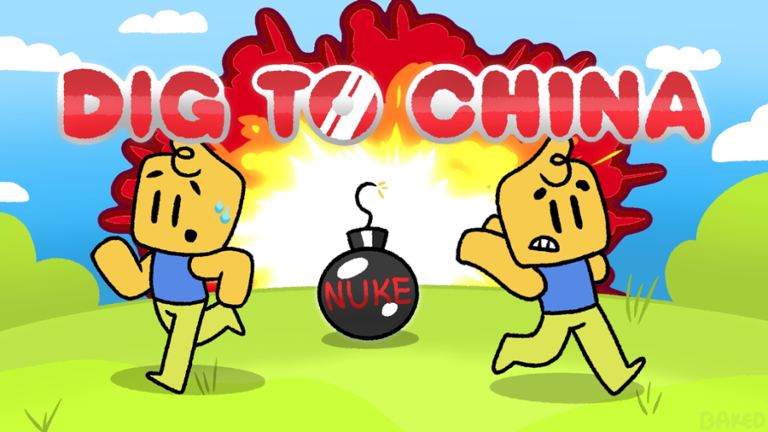
Code Dig to China mới nhất là gì? Đó là những mã phiên bản mới nhất cho trò chơi Dig…
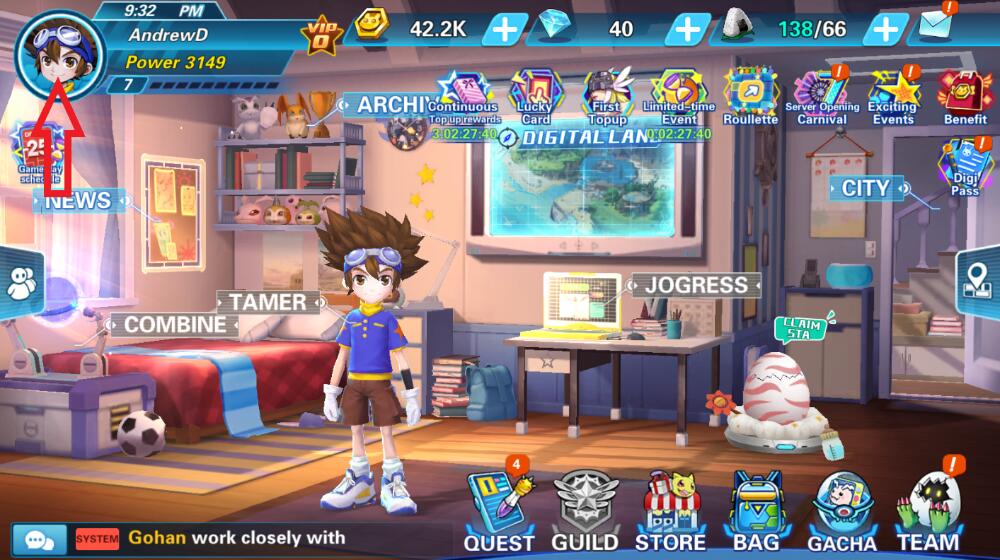
Hiện nay, nếu bạn sử dụng ngay các mã Code Digi Xro War mới nhất khi chơi game này, bạn…

Bạn có muốn biết về code Digital Girls: Idle RPG mới nhất và cách đổi mã? Bài viết này của…
Hiện tại, nhà phát hành đã tung ra nhiều mã code Digital Chronicle Evolution mới nhất cùng với những phần…

Các game thủ có muốn biết cách nhập code Dị Giới 3Q mới nhất một cách đơn giản? Hãy đọc…

Bạn đang quan tâm đến việc tổng hợp Code Digimon Little Black’s Treasure mới nhất? Đây là một chủ đề…
Bạn đang tìm kiếm mã Code Digi Dominion mới nhất để nhận những phần thưởng hấp dẫn trong cuộc hành trình…
Bạn có muốn tìm kiếm phần quà miễn phí, hãy xem danh sách mã code dice simulator mới nhất mà…
Bạn đã có cơ hội trải nghiệm về các mã code Đế Vương Tam Quốc mới nhất chưa? Sau những…

Bạn đã nhận biết cách tổng hợp mã code Devious Lick Simulator mới nhất không? Vì đây là trò chơi…
Bạn có dịp đi sâu chi tiết về các mã code destruction simulator mới nhất chưa? Với kinh nghiệm và…
Có khi nào bạn tìm kiếm ngay về những quà tặng code code destiny girl Mới Nhất dành cho người…

Đã bao giờ bạn muốn nhận ngay những quà tặng code Đế Quốc Quật Khởi mới nhất được săn đón…
Bạn đã có cơ hội tìm hiểu thêm về mã Code Đệ Nhất Đại Chưởng Môn mới nhất chưa? Vì…
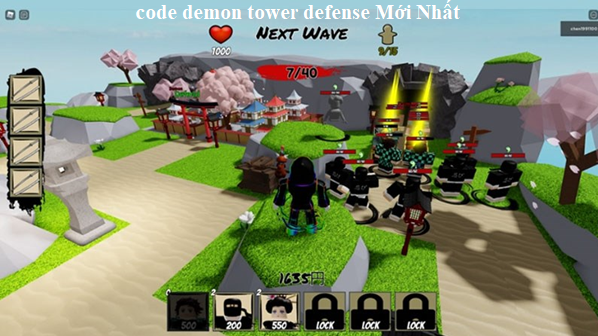
Bạn muốn tìm code demon tower defense Mới Nhất không? Nếu cần thông tin, mình sẽ giúp bạn tham khảo…
Bạn đã bao giờ truy tìm Code Demon Sword mới nhất chưa? Nếu bạn đang tìm kiếm thì nên tham…